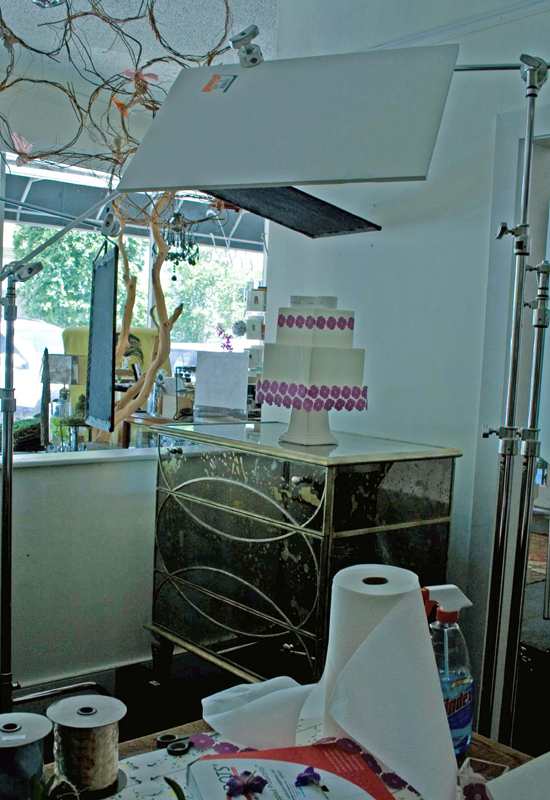
Behind the Scenes - Cake shoot
August 2009
Photographs by:
0
Details:
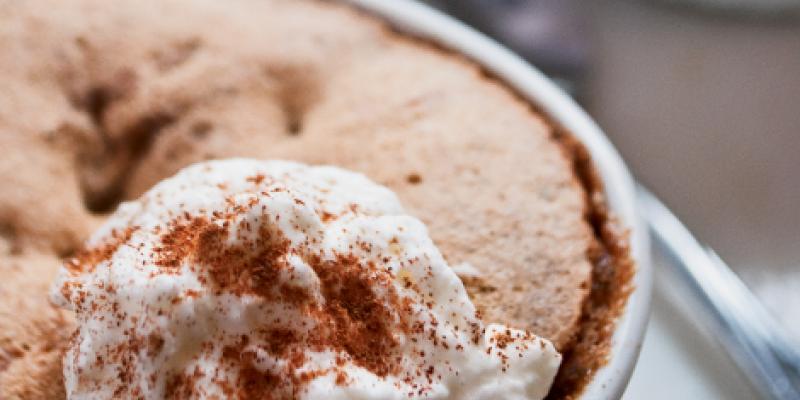
Three-tiered strawberry shortcake layered with strawberry filling, iced in Italian meringue buttercream, and decorated with Swiss dots.
Serves: 75 ($413)
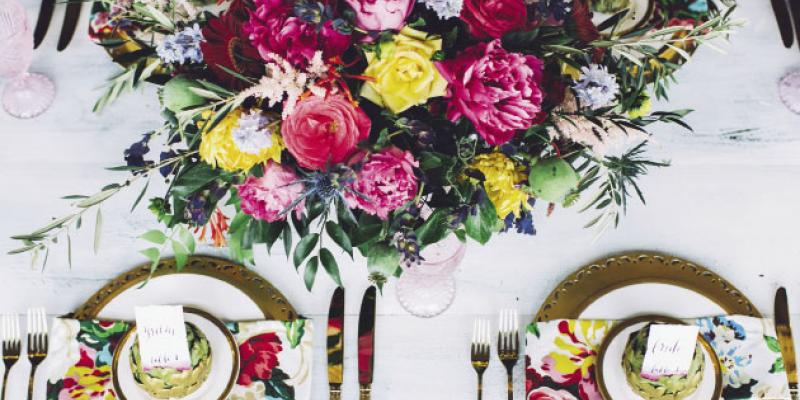
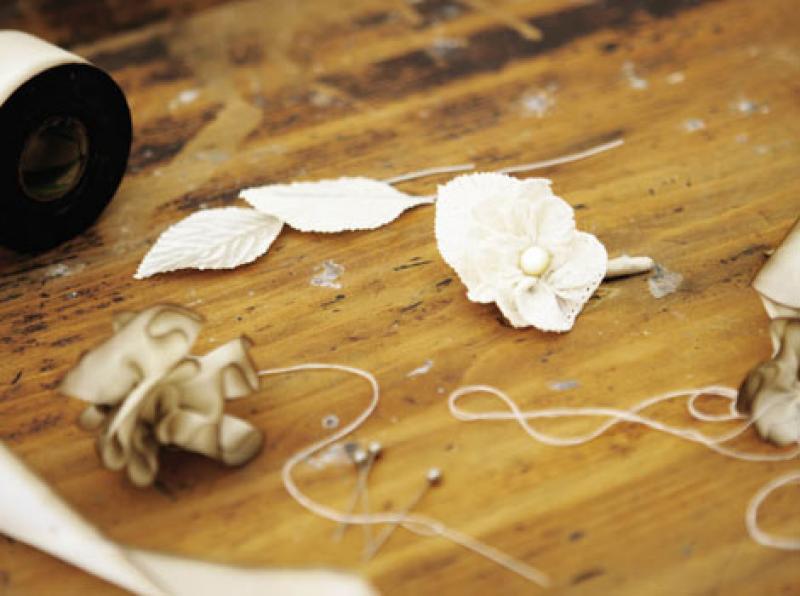
Fabric Rosettes
Using vintage lace, fabric, ribbons, and buttons, Anne Melvin-Girault of Ooh! Events crafted a bounty of rosettes. We ran floral wire through a handful of blooms, then mounted them on a foam semi-circle to create the cake topper. Next, we scattered rosettes about the layers, and used several to fashion boutonnieres.
 You will need:
Ribbon or narrow strips of fabric (we like silk, eyelet lace, and organic muslin)
Needle and thread
Vintage button or pearl
Fabric glue (we recommend Fabritac)
Step 1: Choose fabric, ribbon, or lace that is no more than 2 1/2 inches wide. (We suggest lightweight materials that will gather easily.) Cut seven-inch strip and using needle and thread, make a loose over-under stitch along the bottom edge.
Step 2: Carefully gather the strip accordion style, scrunching the fabric along the stitch line from Step 1.
Step 3: Shape the gathered fabric into a rosette and joining it at the center and ends with hand stitches. Sew or glue a vintage button or pearl in the center.
*Rosettes made by Anne Melvin-Girault
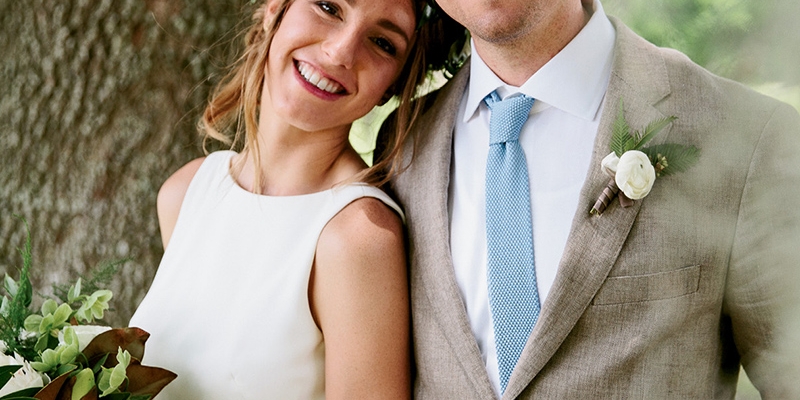
Fabric Rosette Boutonniere
You will need:
Ribbon or narrow strips of fabric (we like silk, eyelet lace, and organic muslin)
Needle and thread
Vintage button or pearl
Fabric glue (we recommend Fabritac)
Floral wire
Floral tape
Small ribbon to cover floral tape
Straight pin
Step 1: Create fabric rosettes (hyperlink to instructions)
Step 2: Cut a six-inch piece of floral wire. Fold in half.
Step 3: Pierce the center of the rosette with the wire, and pull it through to form a stem. Cover the wire with floral tape. Wrap stem with ribbon.
Step 4: Affix to suit with a pearl-headed pin.
*Boutonnieres made by Anne Melvin-Girault


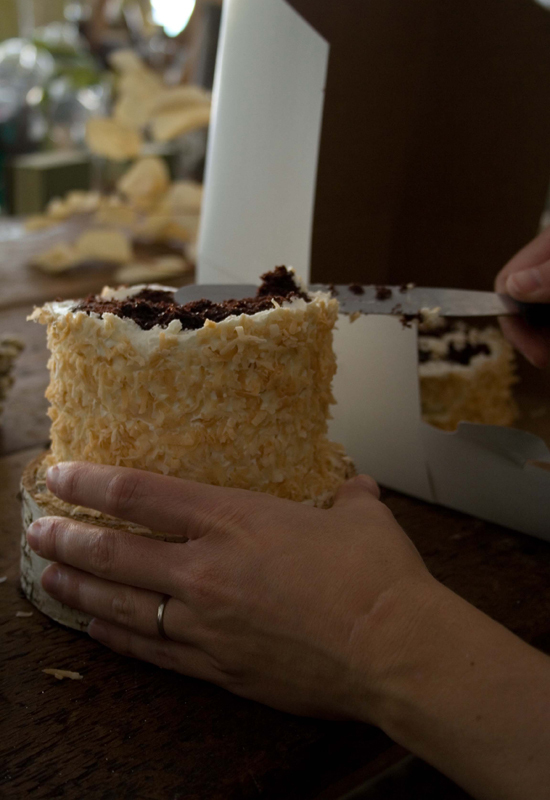
Details:
Two-tiered almond cake, layered with raspberry filling, and iced in Italian meringue buttercream.
Serves: 24 ($96)
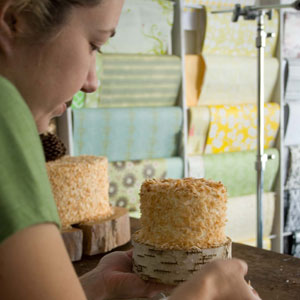
Paper Bands & Liner
A pretty paper garland is much easier to create than a fondant one. Here, we spray-mounted flower-patterned paper to wax paper and cut out two strands, which we then placed directly on the iced cake and affixed to the stand with glue dots. To repeat the theme, we lined an invitation envelope in the same pattern, then asked local calligrapher Elizabeth Porcher Jones to address
it in purple ink. Last, she made a “happily ever after” banner for the cake topper.
Envelope Lining
You will need:
1 envelope to use as a template
Lining paper of your choice
Pencil
Ruler
Glue stick, glue dots, or double-sided tape
Envelopes of your choice
Scissors or paper cutter
Scoring tool
Step 1: Unfold your template envelope and lay it flat on the reverse side of your patterned lining paper. Use a pencil to lightly trace around the back and opening flap of the envelope—the part that will be lined. Use a ruler and pencil to draw a cutting line about ¼-inch from your original tracing. This is to allow for white space around the edge of your lining.
Step 2: Cut out your patterned lining with scissors or a paper cutter. Work carefully to cut straight edges for a clean, professional look.
Step 3: Slide the patterned lining into the envelope and fold down the top flap to create a crease.
Step 4: Remove the patterned lining paper and sparingly run a glue stick or place double-sided tape or glue dots on the interior flap and inside of the envelope. Slide the patterned paper into the envelope and press. Use a scoring tool to sharpen your folding crease.
*Envelope lined with Snow and Graham paper from Out of Hand; calligraphy by Elizabeth Porcher Jones


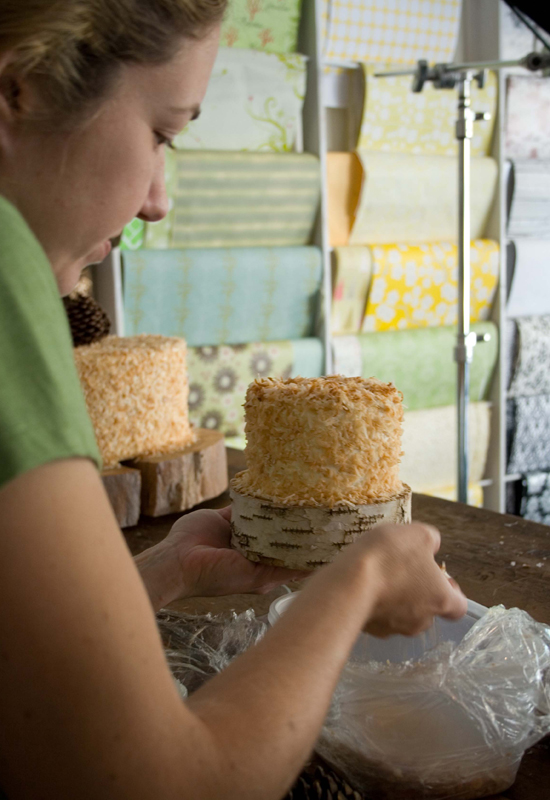
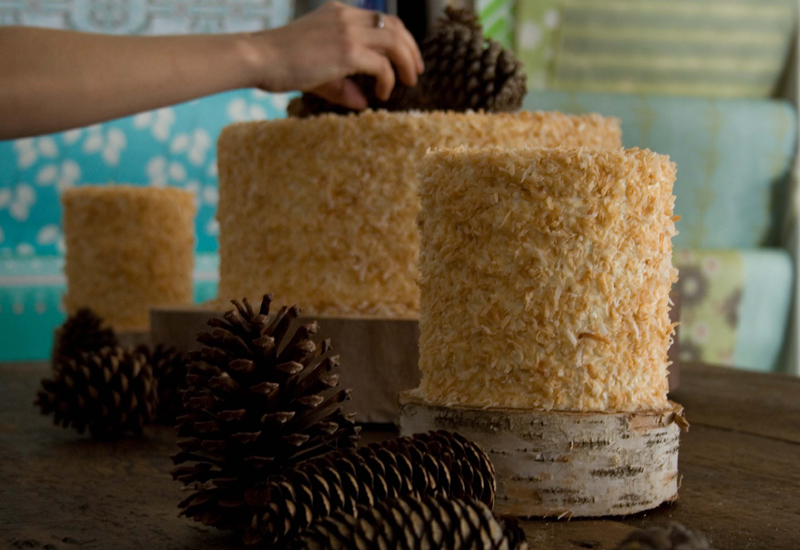
Wood Cake Stand
You will need:
Cross-cut wood plaque (available in the wood-burning section of a craft store) or wood piece from the backyard
Sand Paper
Antibacterial soap
Parchment paper
Step 1: Choose a unique piece of wood to use as your stand. You can buy a cross-cut wood plaque that is already clean and ready to use, or you can cut a piece right from your yard so long as you thoroughly clean dirt and debris.
Step 2: If you like, you can remove the bark from the piece and sand any rough edges. We like the idea of mixing and matching different woods and textures. Here we used birch and oak.
Step 3: If you plan to place food directly on the wood, line the surface with parchment paper that suits the size of the cake. Cut out sample to cake pan measurements.
*Birch and oak cake stands from Out of Hand