
Written By Melissa Reardon
Photographs By Lucy Cuneo
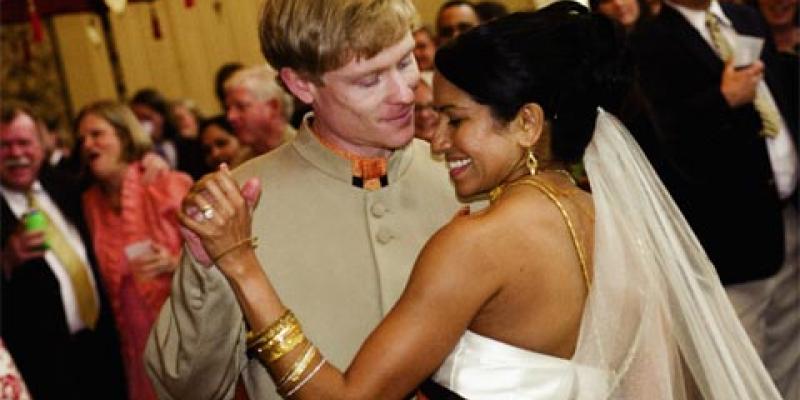
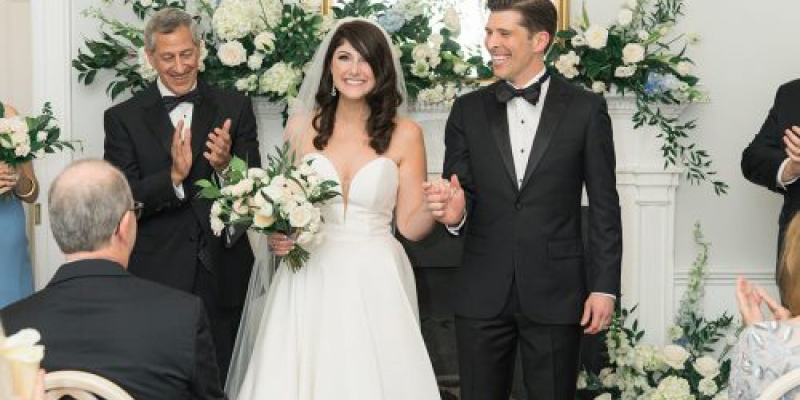
A transplant from Virginia, Weston “Wes” McAfee vividly remembers the first time he saw his future bride-to-be. Charleston native Dana Elaine...
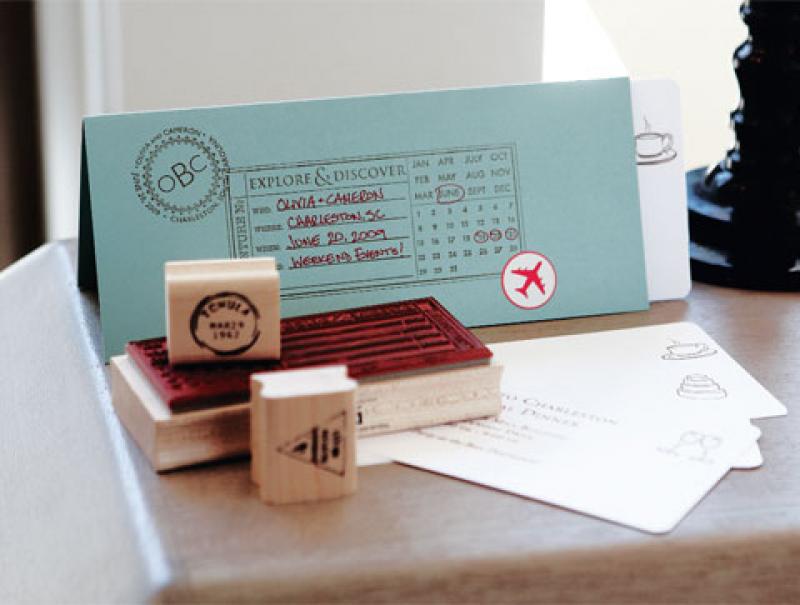
download the instructions (adobe pdf) You will need: For Folder 8½ by 11-inch cardstock Paper cutter with scoring tool* Cardboard Pencil Rubber stamps Ink pad Travel-themed stickers Pen Double-sided tape For Invitation Inserts Computer and printer White cardstock Round corner punch* * You can substitute scissors for cutters and punches, and a ruler in place of a scoring tool. 1. Cut a piece of cardboard into a 35/8- by 8½-inch rectangle. Mark a spot five inches down from the top right corner. Draw a diagonal line from the top left corner to the five-inch-mark. Cut along the diagonal to make the folder pocket template. 2. Score 8½- by 11-inch cardstock in horizontal thirds. Place template on the bottom panel of cardstock, lining up the 8½-inch side so the diagonal edge slopes from left to right. 3. Trace the diagonal edge onto the cardstock, then cut along the line and fold up the flap to form a pocket. Seal seams with double-sided tape. 4. Adorn the outside of folder with travel-themed stamps and stickers. Write in your own wedding details as needed. 5. Using a word processing program, design insert invitations on an 8½- by 11-inch document and decorate each with clip art from www.clip-art.com. (We created rehearsal dinner, ceremony and reception, and farewell brunch invitations.) Print on white cardstock and cut into three sizes (in inches, 3½ by 5½; 3½ by 6½; 3½ by 7½) .The first event should be on the smallest card. 6. Round corners of each insert with punch. Slip inserts into folder sequentially. download the instructions (adobe pdf)