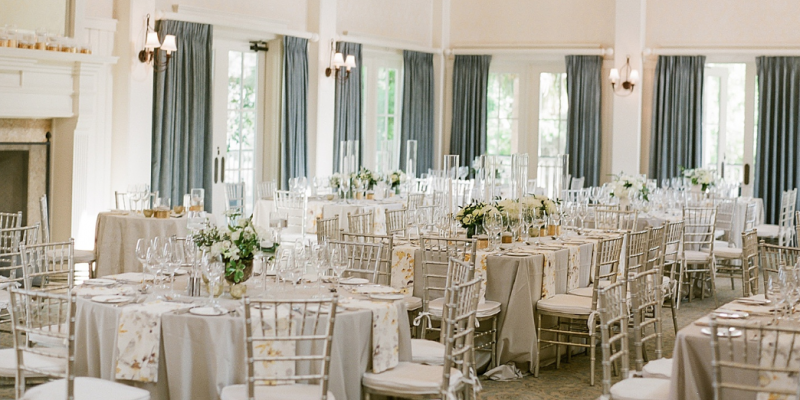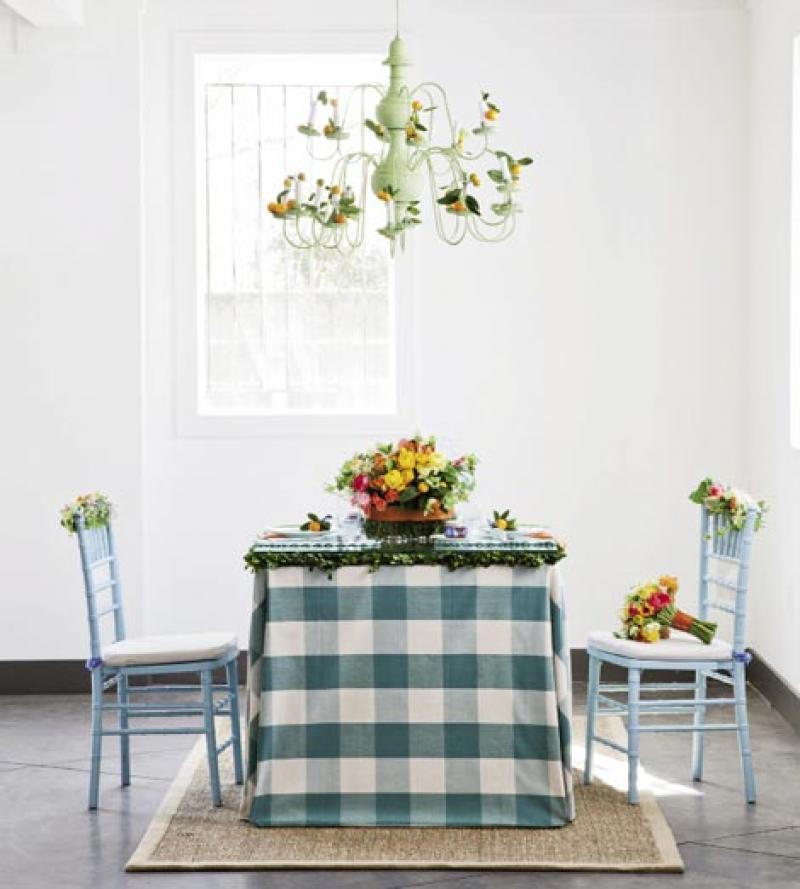
The look: “My goal was a table that felt colorful and intimate but not too serious,” says Katherine, “so I mixed my own unabashedly preppy style with graphic vintage pieces (china) and family heirlooms (silver).” She built the palette—and played patterns off—a set of 1970s-era “Caribbean” Spode plates that contrasted with a large-check gingham linen. The table, she says, would be perfect on a verandah or croquet green.
The florals: Anne placed boxwood mats from Jamali Garden on the table, then topped those with glass from Charleston Architectural Glass Studio. She then fashioned florals from coral begonia, bird’s nest fern, green hellebores, variegated ivy, chartreuse phalaenopsis orchids, orange and gold ranunculus, rosemary, and tulips. Simple bands of Thai silk ribbon accented the arrangement and bouquet and, in lieu of candles, calamondin oranges dressed the chandelier.
The details: Katherine choose his-and-hers glasses from Lenox/Kate Spade to mark each place setting and hung “He/She Loves Me, yeah, yeah, yeah” signs by Hardink Calligraphy and dodeline designs on the chairs. Marmalade favors were accented with the couple’s initial, while fork tines held place cards (opposite page) and napkins bore the wedding date. A heart-shaped table “number” was tucked into the rosemary-wrapped arrangement.
Do It Yourself!
Place Cards: “These place cards are a simple way to personalize a place setting, and you can create them on your own quite easily,” says Katherine. We designed ours on the computer and then printed them out, but you could also purchase colored cardstock, a calligraphy pen, and a punch from your local craft store to recreate this look. We glued sweet polka dotted fabric on the back of ours for an added fun touch. Then we placed them in the tines of the fork to be held in place.”
Sweetheart Table Number: “We wanted something different for our table numbers,” says Katherine, “so we incorporated them into the centerpieces. We scanned in a hand-drawn wreath design inspired by our plates, then digitally added in the table name and printed the graphic on nice, thick cardstock.
“Make sure you print two so it reads from both sides,” says Katherine. “We adhered them to a cardboard heart found at a local craft store, cut a slit into the cardboard heart for our stick, and edged the cardboard with a coordinating fun ribbon. Finish it off with a bow and you're all set.”
Marmalade Labels: “We designed these fun ‘M’ labels to coordinate with the rest of the paper in our suite,” says Katherine. “We printed them on nice cardstock, punched them out, and adhered them to the lid of simple Mason jars for an easy but personalized favor.”
Chair Signs: “All that was needed for these signs were a simple graphic design,” says Katherine, “a great idea for what they should say, some fun polka dot fabric, et voila! Otherwise, there are a few key things to remember for chair signs: first, scale it properly for the chair; and second, is the chair see-through? If so, make sure to address the back as well. We backing the signs in the same fun polka dot fabric we used on the place cards.”
Chair Garlands: These chair garlands can be pre-made (just like a Christmas garland), says Anne Bowen of stems, and then attached to the chair with some small wire or ribbon. “We use Oasis Bindwire, basically a raffia-covered wire,” she says. To make the garland, simply group flowers together, and wind the wire around their gathered stems. Layer the next bundle of flowers over the stems of the first bundle, and wrap in place with wire across the stems. Once you’re done, twist any visible ends wire into a rosette so it looks finished. Affix to the chair with wire. If you make ahead, spritz with water and keep in a refrigerator for up to a day.
Chairs from Snyder Event Rentals; rug from Celadon; orange ribbon from midori; plaid ribbon from Michaels; marmalade from Joan’s Jams; table linen from Table Manners; chandelier from Ooh! Events; china and silver from Katherine Miller Events. Shot on location at stems.
